how to make a bow out of washi tape
it’s time for the holidays – and this year while wrapping my presents, I needed a bow – but didn’t have one. and instead of going out and buying one, I tried to use what I had at home and made this really cute bow out of washi tape that fit the present perfectly!
and here’s a really easy tutorial how to make your own washi tape bow!
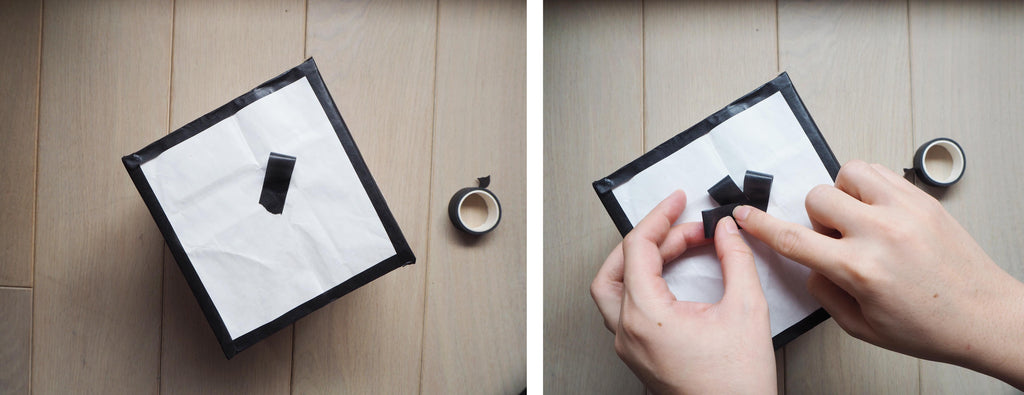
choose a washi tape of your choice (or you can get some new, pretty ones here), cut out an approx. 6cm strip and fold it like this so that the adhesive part of the washi is still visible:

then paste it on your present and repeat the first step a couple of times. when finished with the first row, start with the next and pile up the washi tape until you’re happy with the look (I usually make 3-4 rows). in the end you can make 2 bigger washi tape loops and stick them in the middle to complete the bow! (also, you might need to reinforce it with some scotch tape between the layers)


and that’s it!
so fun and so easy! and in this way you can use all the washi tape patterns you have in your collection and give your gifts this year that little extra something!

(in this tutorial i used the black washi tape and the lantern washi tape from the takkti collection)
stay awesome and creative,
xo,
mei-lin
